Invite your team
Send invitation emails, choose a role, and track who has accepted.
Get colleagues into your workspace by sending them an invitation. Admins choose a role and (optionally) which branches the user gets access to, so each teammate sees exactly the slice of the workspace they need.
Send an invitation
- 1
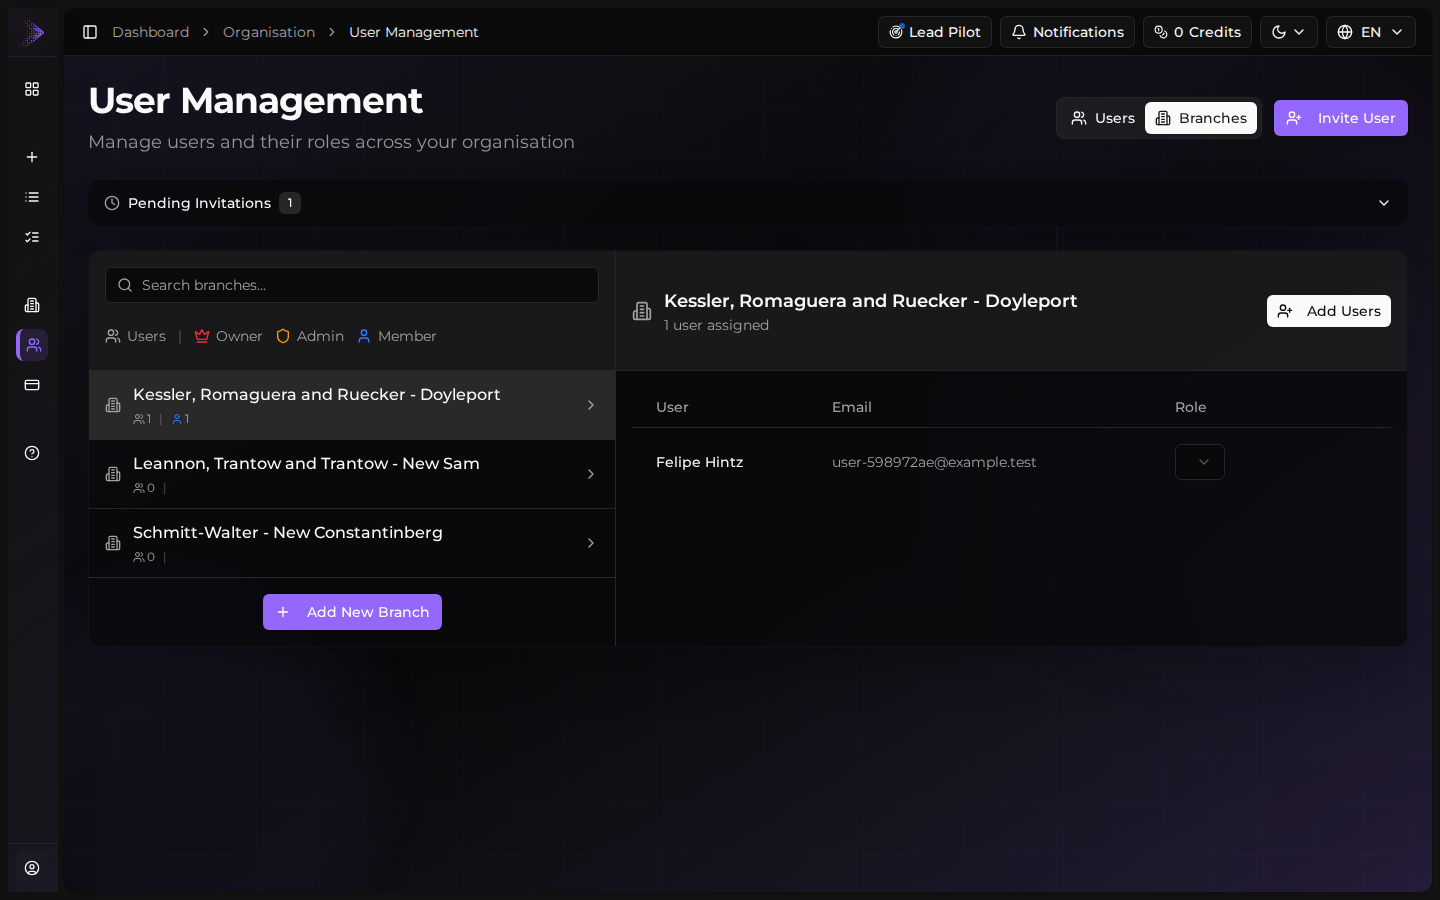
Open the invitations page
From the sidebar, expand Organisation and click User Management (the invitations panel sits next to the existing-users list). Only admins and owners can send invitations — if you don't see the panel, ask an admin.
- 2
Enter the email address
Type the colleague's work email. Aidealy sends the invitation to this address, so make sure it's the inbox they actually use.
- 3
Choose a role
Pick the role this person should have in the organisation: Member for everyday users, Admin for people who manage settings and other users, or Owner for full control including billing. Read User roles for what each role can do.
- 4
Pick branches (optional)
If your organisation has multiple branches, select which ones this user should access. Leave the field empty to give them access to every branch — that's the default for admins.
- 5
Send invitation
Click Send invitation. Aidealy emails the invitee a personalised link, and the new invitation shows up in the pending list immediately.
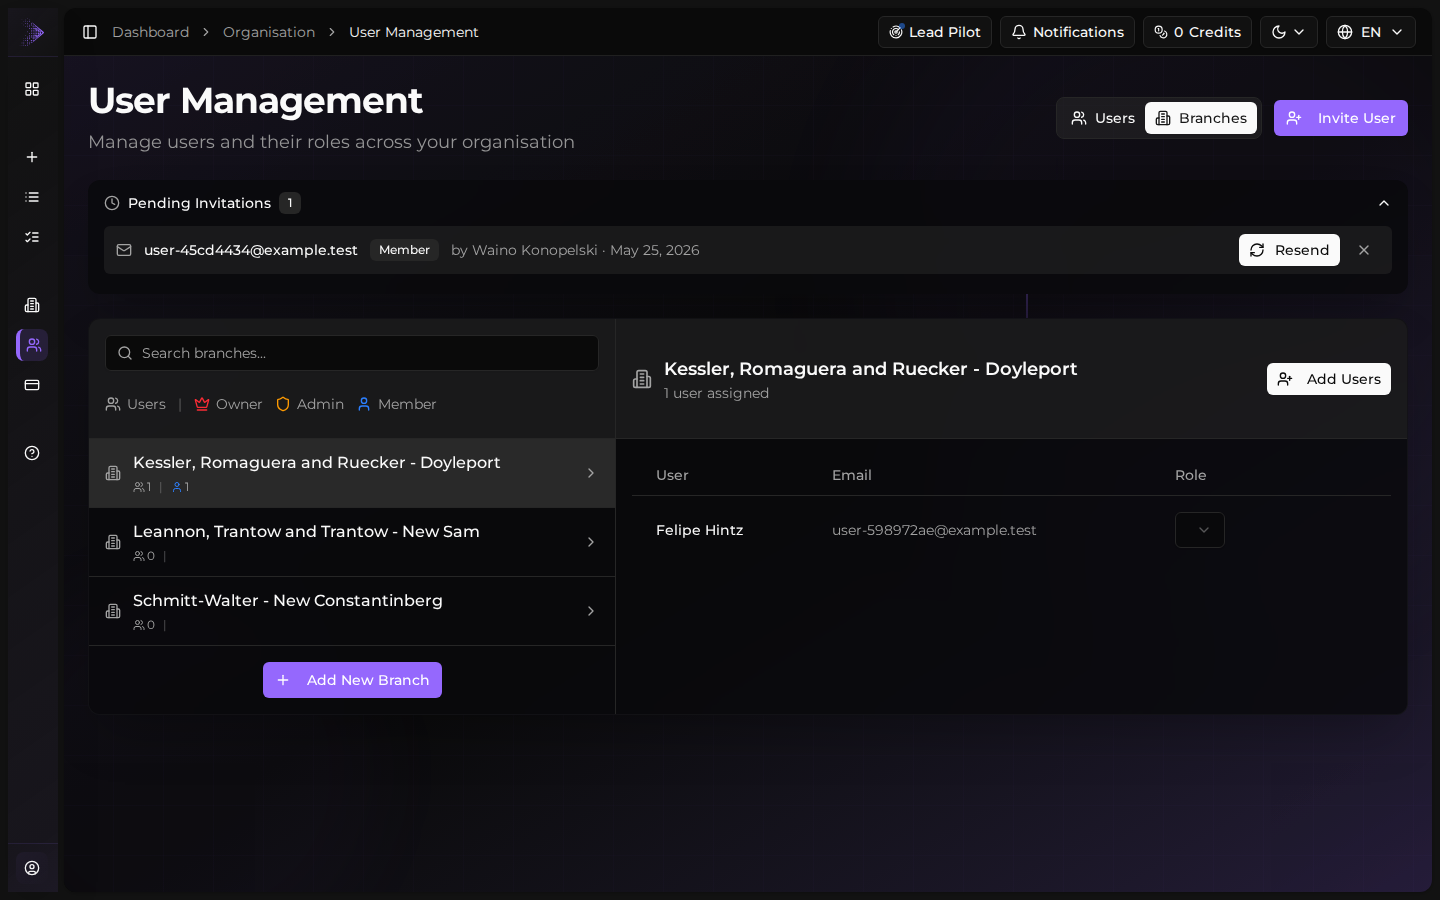
Track pending invitations
Every invitation you've sent appears in the team management table with a status badge: Pending while you wait for acceptance, Accepted once the invitee joins, Expired after the time-to-live elapses, or Revoked if you cancelled it. Use the table to see who hasn't responded yet, resend if needed, or revoke an invitation that's no longer wanted.
Resend a stalled invitation
If a teammate hasn't accepted within a couple of days, use the three-dot menu on their invitation row to resend the email. The link is the same — they don't need to start over. If the email never arrived, ask them to check spam before resending.