Create a Lead List
Build a Lead List from scratch or directly from an ICP.
There are two ways to create a Lead List: from the ICP wizard while saving an ICP Profile, or from the Lead Lists page using New Lead List. Both produce the same artefact — pick whichever fits the moment.
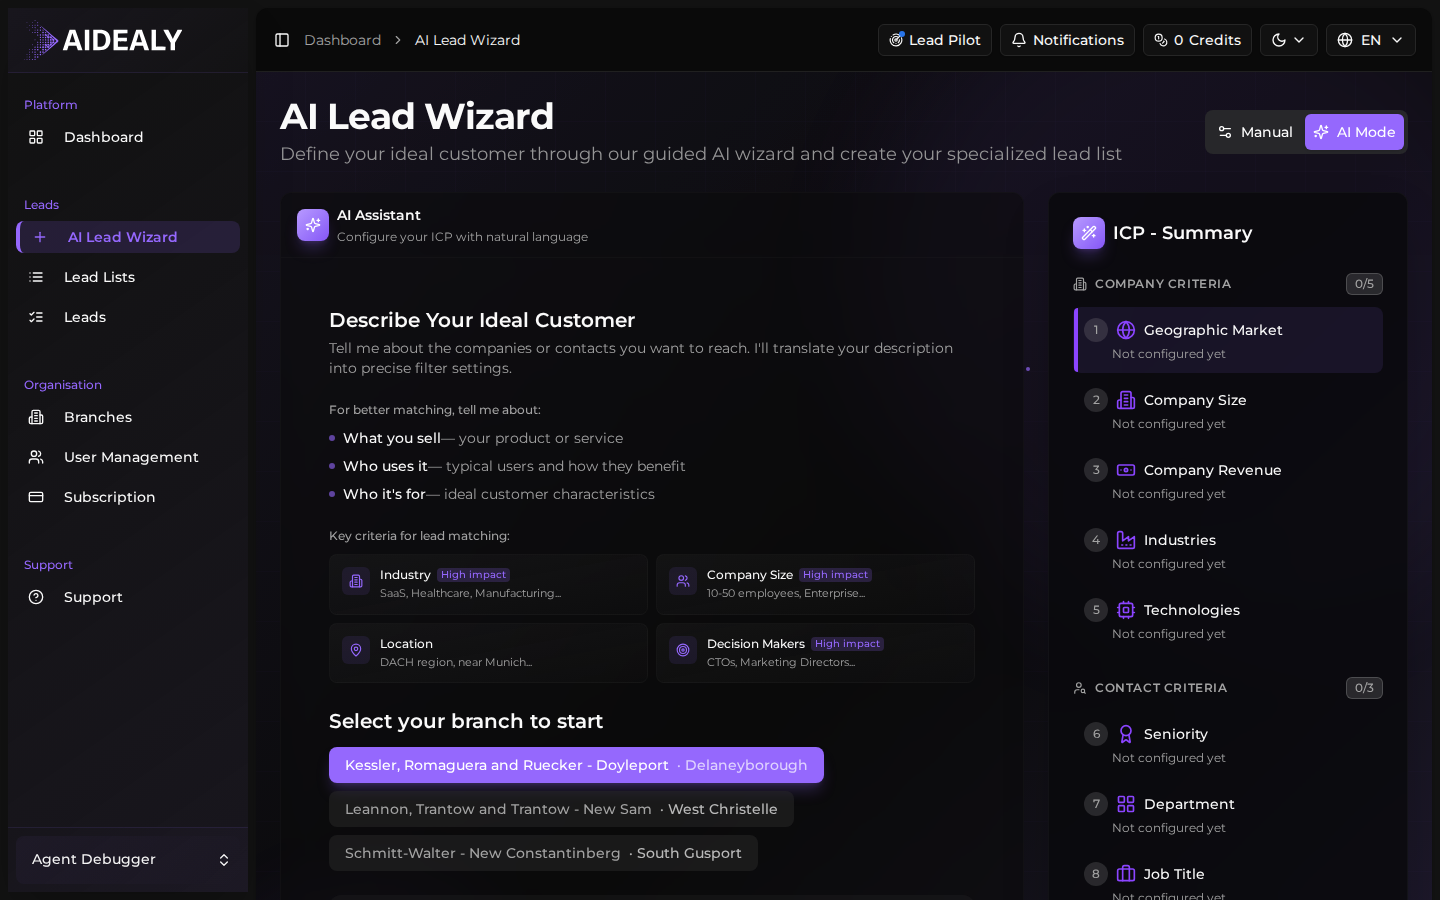
From the ICP wizard
Create a Lead List as you save an ICP
- 1
Finish the ICP wizard
Work through the wizard until you reach the final review step. Aidealy shows a summary of your ICP and asks where to save it.
- 2
Pick a target branch
Choose which branch the resulting Lead List should belong to. By default this is your favourite branch; switch it if you're building a list for a different team.
- 3
Click Save and run
Hit Save and run to create the ICP, attach a new Lead List to it, and immediately kick off the first search. You'll be taken to the Lead List detail page where the pipeline starts working.
From the Lead Lists page
Create a Lead List manually
- 1
Open the Lead Lists page
From the main navigation choose Lead Lists. Click the New Lead List button in the toolbar.
- 2
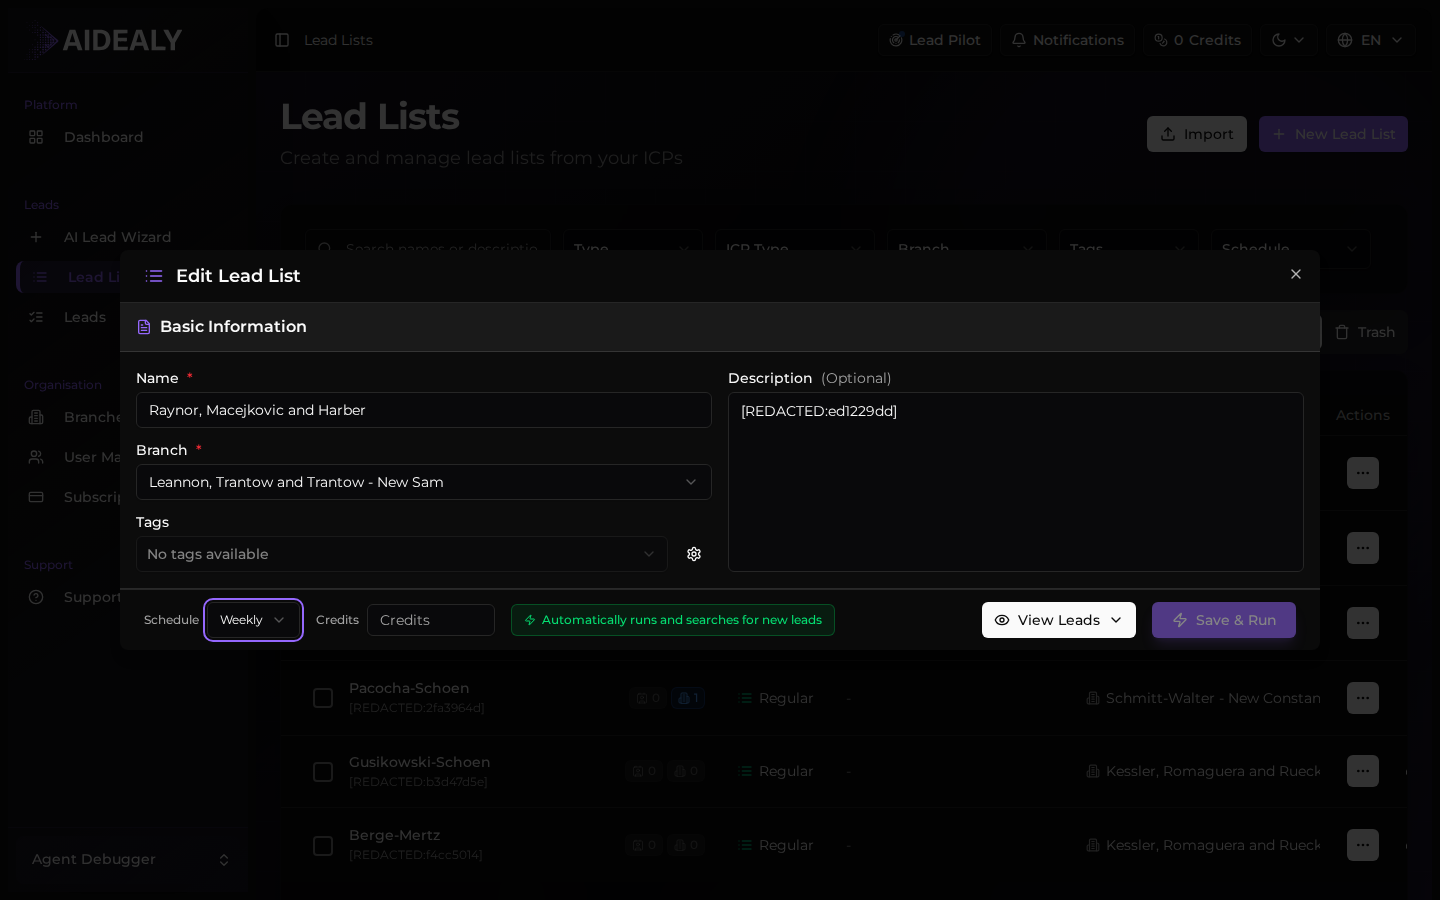
Name the list and pick an ICP
Give the list a clear name (the slice of your ICP, the campaign, or the region). Choose an existing ICP Profile to bind it to — every run will use that ICP's criteria.
- 3
Open the detail page and configure
On the detail page you can tune the schedule, branch, tags, and credit-per-run cap. Save your changes and the list is ready to run.
One ICP, many Lead Lists
A single ICP Profile can power multiple Lead Lists — useful when you want different schedules, different branches, or different name slices using the same definition of fit.